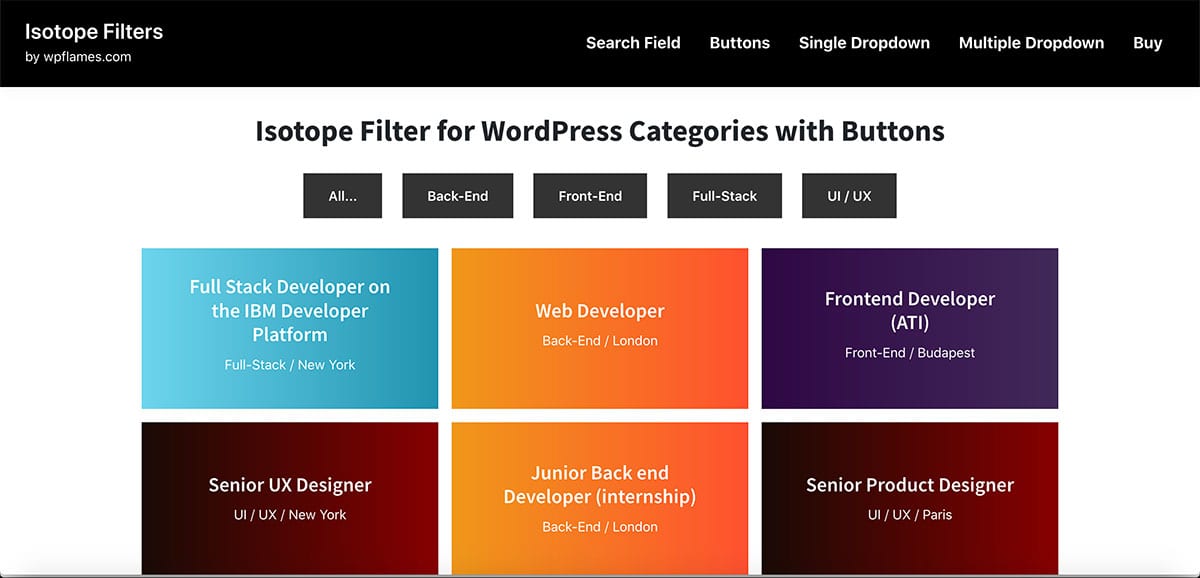
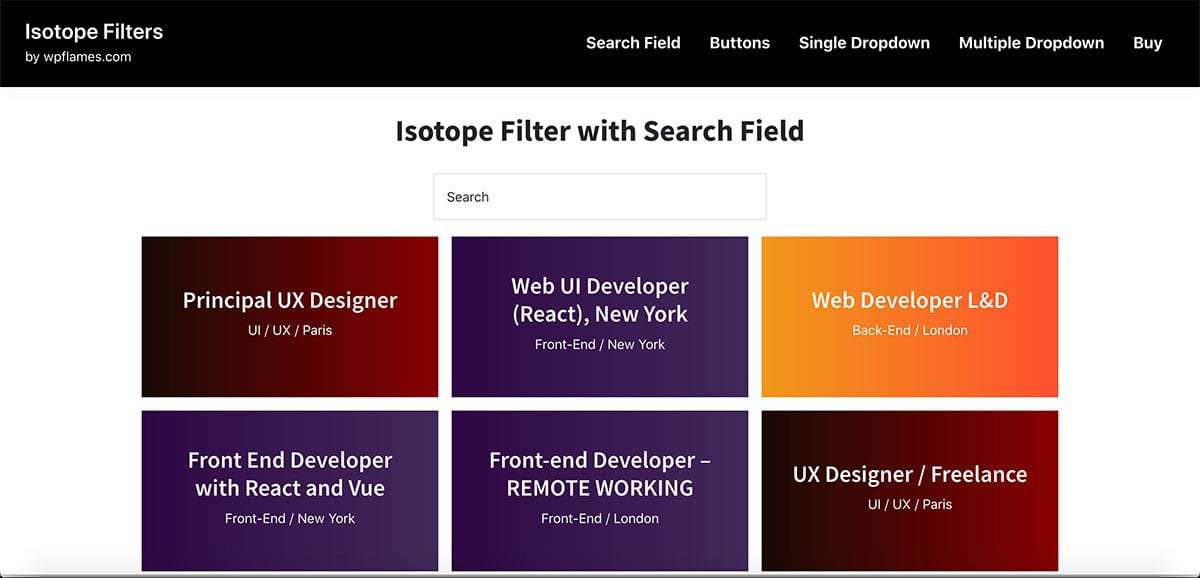
In this tutorial we are going to build an Isotope Filter for WordPress Categories with buttons. The following project is actually a fictive job listing website with Bootstrap grid for responsive layout and Genesis Framework, but it works with any kind of WordPress theme.
Recommendations:
- Please don’t experiment on a live website, but if You do make sure that You have access to FTP
- I suggest to use LocalWP by Flywheel to setup easily a localhost with WordPress
Step #1 – Create the Custom Post Type named Jobs
Add this to functions.php
Create Taxonomy for Stack of the Job
Add this to functions.php
Create Taxonomy for City of the Job
Add this to functions.php
Step #2 – Add some dummy content
Let’ go ahead and upload your own content with different taxonomies, or You can import the demo that I used in the example above.
Step #3 – Enqueue JavaScript and CSS
As I mentioned above, we’ll need to enqueue Bootstrap, jQuery, Isotope library, and the initial JavaScript. You can add some custom CSS if You want.
Add this to functions.php
Step #4 – Build the Filter
We’ll display the WordPress CPT’s taxonomies dynamically with a foreach loop. Create a file named filter.php in your child-theme.
Step #5 – Create some functions to echo the name and slug of taxonomies
Add this to functions.php
Step #6 – Build the WordPress loop to display the result
Create a file named jobs.php in your child-theme.
Step #7 – Create a shortcode function
Add this to functions.php
Step #8 – Use the shortcode to show the isotope filter wherever You want
[isotope-filter-for-jobs]
Step #9 – Style with SASS
Step #10 – Initialize Isotope JS
Create this file in your child theme: /isotope/js/isotope-buttons.js
Leave a Reply